Friday, January 27, 2023

Whale of a Time

Hey there!  I am here with a another fun card featuring Rachel Anne Miller Stamps.  Being someone who loves the ocean, this is one of my very favorite images called Whale


I had so much fun making this.  I printed out the image on white Hammermill Paper. Then I used Copics to color it.  I used the following colors:

Whale: B99, B97, B32, B12, C1
Water: BG18, BG72, BG93
Boy & Clothes: E00, E02, E11, E13, YG41, YG13, Y17, Y38, B01, B02
Stars: V05, V15, Y11, Y13, YG41, YG13, FYR1, B01, B02, RV04, RV02

Once I finished coloring the images, I added some white gel highlights.  Then I used a CDD die to cut the image out.  Then I cut the top half with scissors and set aside.  Next, I used some distress inks (Monsoon, Pistachio, and Chipped Sapphire) and Yupo paper to create a background.  then I added some white ink spritzer.  After that dried, I used some distress oxide to add color where I wanted my stars and adhered them to the backdrop.  Next, I placed my image in front of the backdrop using foam tape. This entire layer was mounted on blue cardstock followed by black, which was also cut with the CDD die. 


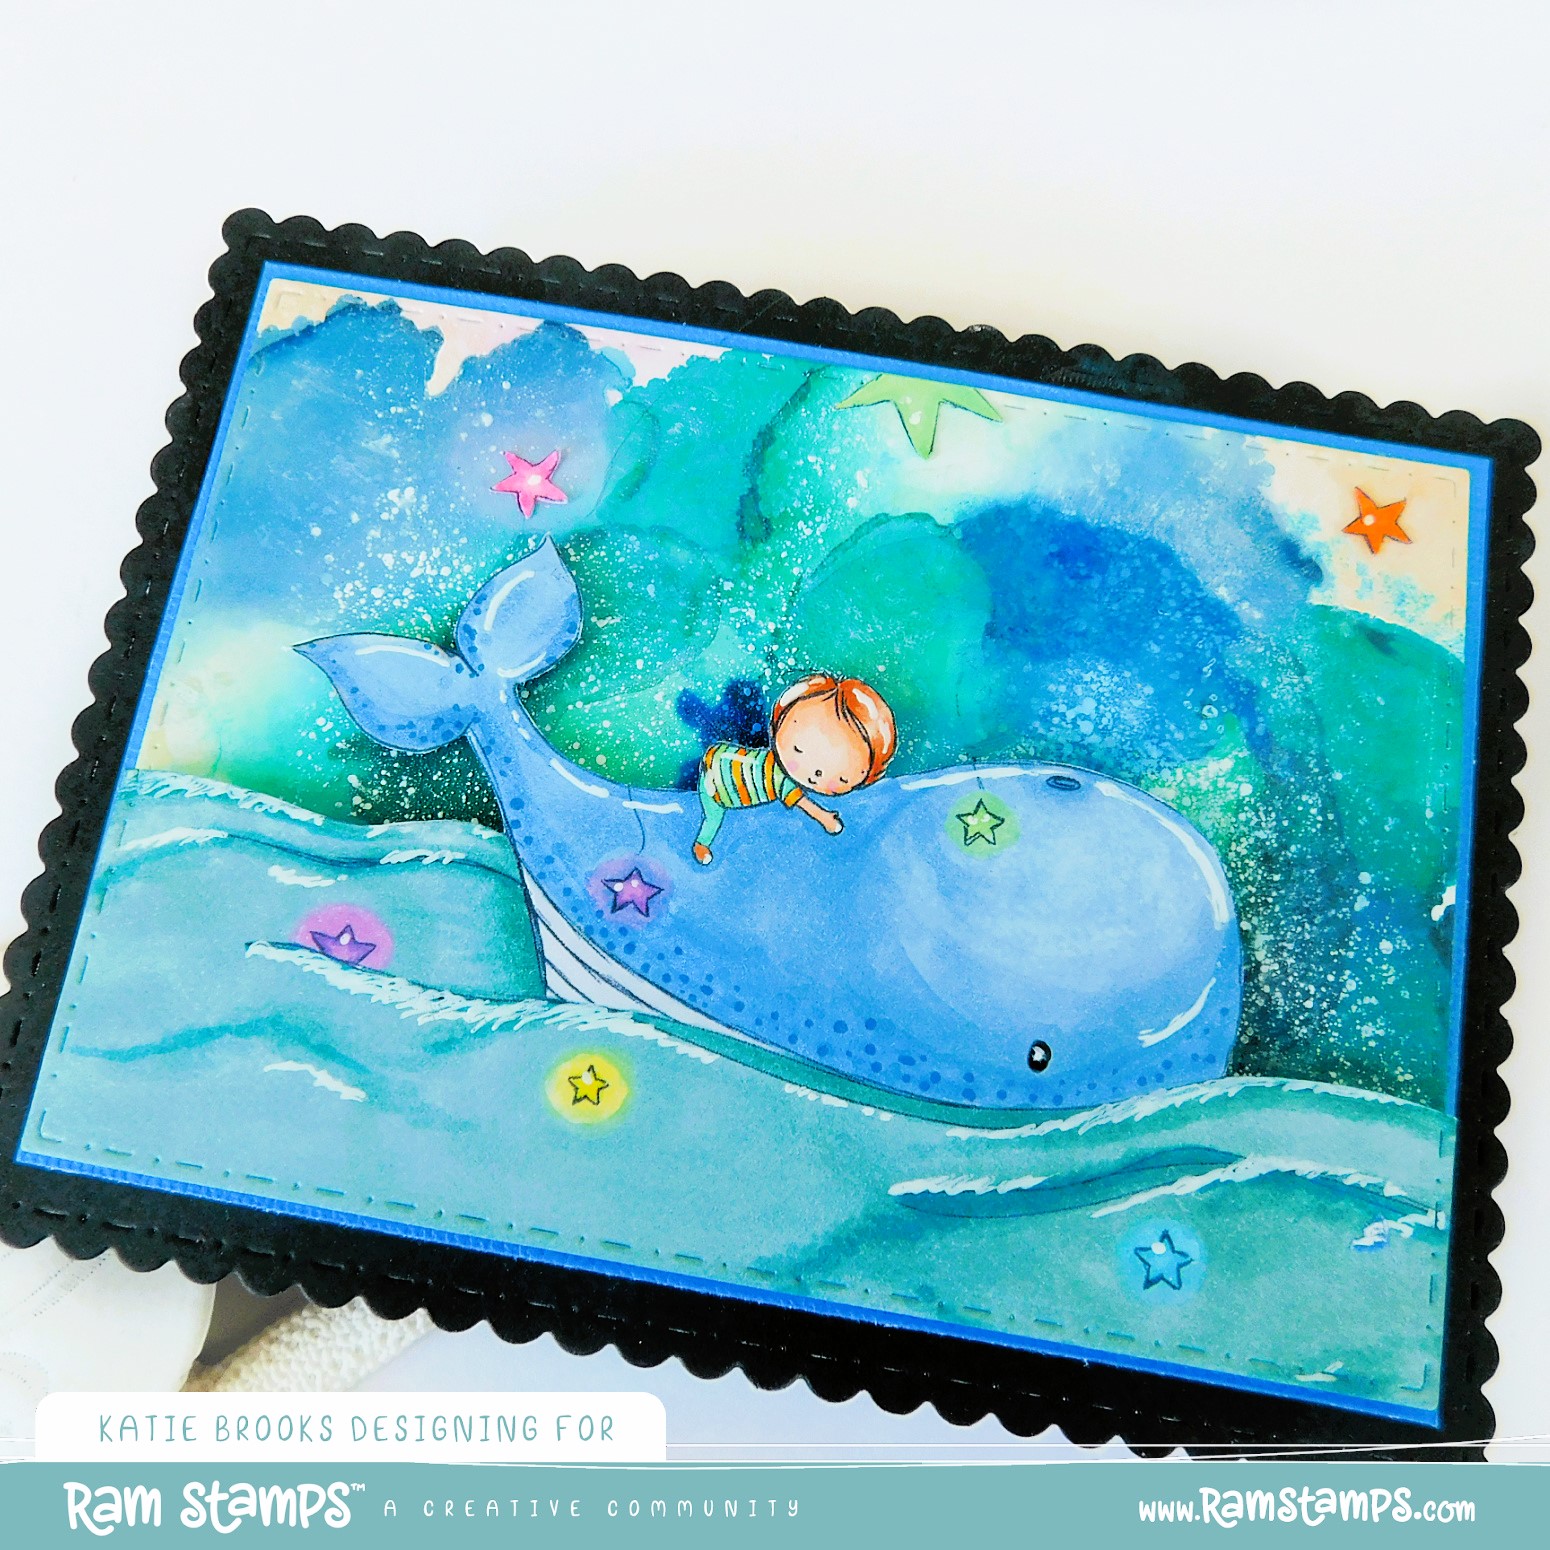
I think this turned out very sweet and would be perfect for a child's room. 

I hope that you like it!  In case you want to pick up some images, here is a coupon for 10% off. 


Thursday, January 19, 2023

Welcome Baby

Hello there!  Today is my first post as part of the RAM Stamps Design Team.  They have the cutest stamps, and you might recognize them! 


Here is my first project for the DT.  Isn't it cute!  I love the sweet critters and the I chose bright colors that might work for a gender neutral baby card. 

I used the Hanging Stars digital stamp set.  I colored it using my Copics (YG05, YG11, R22, R24, RV42, Y11, Y13, Y17, 35, Y38, BG10).  Once I colored it, I cut the white base to 4.25 X 4.  Next, I used some light green striped cardstock, cut slightly larger, than the white layer and put it behind the white.  I used a Craftin Desert Divas die for the tab along the side and then stamped the "Congratulations" sentiment from the Pink & Main Floral Wings Stamp set on that.  I adhered that and then added a layer of Cantalope cardstock behind that, cut to to 4.5 X 4.25.  I adhered all of these layers to one another using EZ Tear Tape.  Then, I mounted all that on a white base 4.75 X 4.75.  Lastly, I added a few white gel highlights. 

Here are two more looks at this card: 


What do you think?  I think they are about as adorable as can be! I hope you like them too.  

Here is a coupon code for you to use to get 10% off your purchase. 

Thanks for visiting me today!